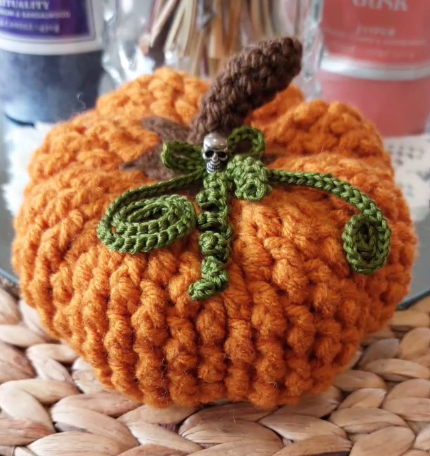
Alpine Spice Pumpkin
This quick and easy Alpine Spice Pumpkin pattern will make great addition to your Halloween decorations.
These pumpkins are my absolute favourite things to crochet leading up to Halloween. They definitely get me in the spooky mood.


I love to decorate my pumpkins with beads, and I make vines with embrodery cotton. To make the vines, I simply make a length of chain stitches, then slip stitch, or single crochet back along the chain. I also like to needle felt faces on them as well. I would love to see how you spice your pumpkins up.
Have fun spicing up your pumpkins.
Jovi Evangeline
Skill Level
Intermediate
Materials
10 ply yarn in orange and brown
4mm Crochet hook
Stitch marker
Scissors
Tapestry needle
Button (optional)

Pattern Instructions
Begin With
ch 4, join with sl into first ch to make a ring.
Round 1
ch 2, 12 dc into ring, sl into first dc.
(12 dc)
Note: ch 2 at start of rounds are not counted as dc throughout the pattern.
Round 2
ch 2, 2 dc in same st and in each st around, sl into first dc.
(24 dc)
Round 3
ch 2, (dc, FPdc) in each st around, sl into first dc.
(24 dc, 24 FPdc)
Round 4
ch 2, *FPdc around dc from previous round, dc in next st, * rep around, sl into first FPdc.
(24 FPdc, 24 dc)
Round 5
ch 2, over the next 2 sts, *dc, FPdc in next st* rep around, sl into first dc.
(24 dc, 24 FPdc)

Repeat rounds 4 and 5 until you have a total of 13 rounds.

Round 14
ch 2, *for the next two sts, (FPdc, dc 2tog) * rep around. sl into first st.
(24 FPdc, dc 2tog)
Round 15
ch 2, * for the next two sts, FPdc2tog around dc from previous round* rep around. sl into first st.
(12 FPdc2tog)

*Stuff lightly.
Over stuff makes it harder to do grooves later.
Round 16
ch 2, FPdc in each st around. sl into first dc.
(12 FPdc)
*Cinch in opening
*Fasten off and leave a long tail enough to go around and through the pumpkin 6 times.
Pumpkin Grooves
Insert needle into the top-hole push through to the bottom.
Wrap around outside of pumpkin. Try to place yarn in the grove of the stitches (green arrow).
Insert needle through the bottom hole, push through to the top.

Repeat steps 1 – 3 six times evenly around the pumpkin.
*Optional. Add button to bottom

Stem
With Brown Yarn
Round 1
6 sc into a magic ring. Do not sl, continue in a spiral. use a st marker to mark the first st (6 sc).
Round 2
sc in each st around (6 sc).
Repeat round 2 until you reach the desired length of stalk.
sl into next st.
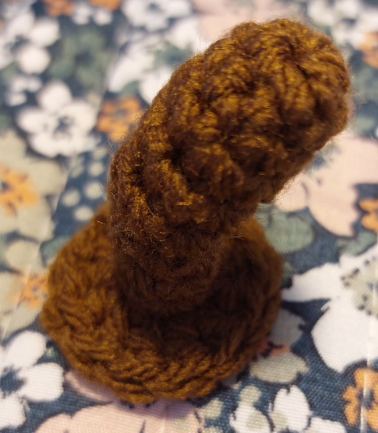
Final Round
Ch 2, 2 dc in each st (12 dc)
Fasten off and sew to top of pumpkin.

Add some decorations, and you’re done!
